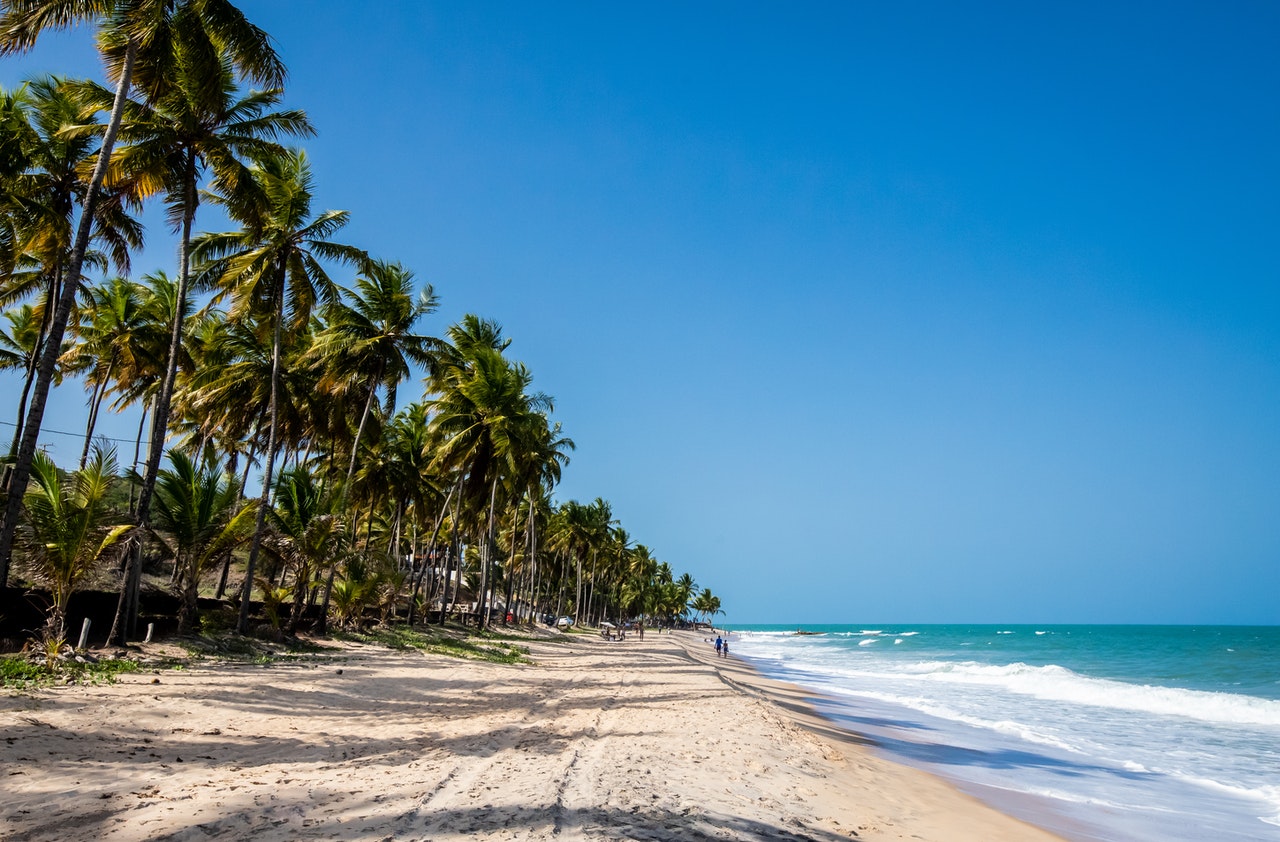
Pour se balader, se changer les idées, jouer ou encore se baigner, la plage est le lieu de prédilection de nombreuses personnes. En tant que tel, il s’agit de lieux généralement très fréquentés à travers le monde. Les plages en Bulgarie ne sont pas du reste. Parmi celles les plus fréquentées, on peut citer : La… Poursuivre la lecture Quelles sont les meilleures plages en Bulgarie ?
Les meilleures stations de ski en Bulgarie
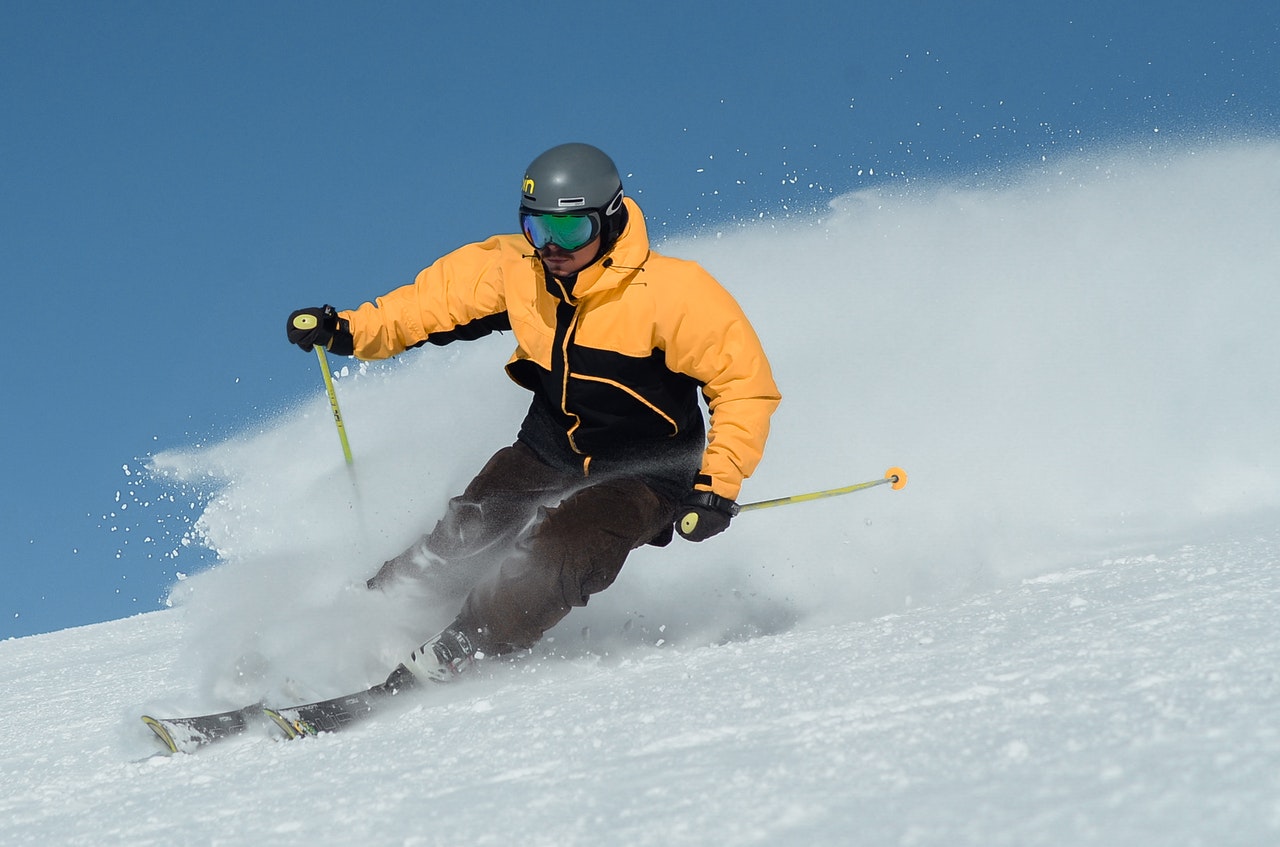
La Bulgarie est la destination de vacances pour des milliers de personnes venant de partout au monde. Le pays a acquis au fil des années cette renommée en raison de ses nombreux attraits dont les stations de ski réparties un peu partout. Il s’agit de sites qui servent à la pratique de ski en altitude… Poursuivre la lecture Les meilleures stations de ski en Bulgarie
Roadtrip Bulgarie : quelles sont les principales villes et monuments à voir ?
Pays situé au sud-est de l’Europe, la Bulgarie s’étend sur 110 994 km² et compte environ 7 millions d’habitants d’après une estimation faite en 2019. Ce pays, chargé d’une histoire riche et d’un patrimoine culturel captivant, est la destination de nombreux touristes chaque année. En effet, il dispose d’une multitude de villes et sites touristiques… Poursuivre la lecture Roadtrip Bulgarie : quelles sont les principales villes et monuments à voir ?
Les 5 meilleurs espaces de coworking à Sofia
Comme de plus de plus de français, vous rêvez de débuter une nouvelle vie d’entrepreneur à Sofia en Bulgarie. Mais, par où commencer, comment trouver un lieu de travail pour lancer son entreprise ou travailler sur son projet. Entreprendre est toujours défi, encore plus à l’étranger. Le coworking est en plus, il permet de travailler… Poursuivre la lecture Les 5 meilleurs espaces de coworking à Sofia